As a seasoned soap maker with over a decade of experience, I’ve perfected the art of crafting liquid soap. Oggi, I’m excited to share my expertise on how to make liquid soap from scratch. This recipe will yield approximately 1 gallon (3.8 liters) of finished liquid soap, perfect for home use or small-scale production.
Before we dive into the process, let’s discuss the quantity we’ll be making. This recipe is designed to produce about 1 gallon (3.8 liters) of liquid soap. It’s a substantial amount that allows you to see the process clearly while still being manageable for beginners.
Essential Tools and Materials You Need to Make Liquid Soap
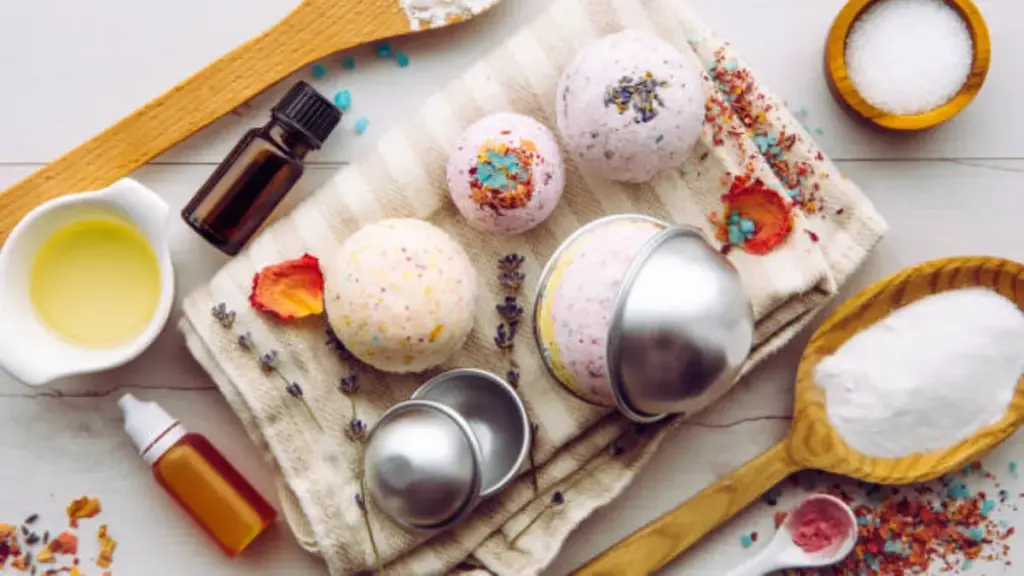
To begin our liquid soap making journey, we’ll need to gather some specific tools and materials. Ecco cosa ti servirà:
Tools:
- Large stainless steel pot (at least 2-gallon capacity)
- Stick blender
- Digital scale (accurate to 0.1 grams)
- Thermometer (capable of reading up to 200°F / 93°C)
- Safety goggles and rubber gloves
- pH strips (range 0-14)
- Large spoon or spatula for stirring
- Slow cooker or crock pot (optional, but recommended)
Materials:
- 16 oz (454 G) Olio di cocco
- 12 oz (340 G) Olive Oil
- 8 oz (227 G) Castor Oil
- 6.1 oz (173 G) Potassium Hydroxide (KOH)
- 18.3 oz (519 G) Distilled Water (for lye solution)
- 80 oz (2268 G) Distilled Water (for dilution)
- 2 oz (57 G) Essential oils or fragrance (optional)
- 1 oz (28 G) Preservative (optional, but recommended for extended shelf life)
Now that we have our materials ready, let’s delve into the fascinating process of how to make liquid soap.
Step 1: Preparing the Lye Solution Safely with Potassium Hydroxide
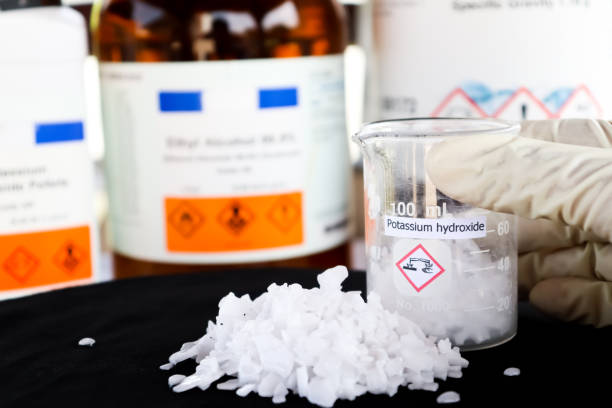
The first step in our liquid soap making process is preparing the lye solution. This is a critical stage that requires utmost care and precision. As someone who’s made this mistake early in my career, I can’t stress enough the importance of safety gear. Always wear your gloves and goggles when handling potassium hydroxide (KOH).
Begin by measuring 18.3 oz (519 G) of distilled water into a heat-resistant container. Prossimo, carefully weigh out 6.1 oz (173 G) of KOH. Precision is key here. Even a small deviation can significantly affect the final product.
Ora, here’s where you need to pay close attention: slowly add the KOH to the water, never the other way around. I always recite “The water to the lye will make you cry, but the lye to the water makes soap like you oughta” to remember this crucial step. Stir gently until all the KOH is fully dissolved.
You’ll notice the solution heating up – this is a normal chemical reaction. The temperature can reach up to 200°F (93°C), so be cautious. Set the solution aside in a safe place to cool down to about 100-110°F (38-43°C). This cooling process usually takes about 30-45 minuti.
Step 2: Combining Oils and Lye to Create the Initial Soap Mixture

While our lye solution is cooling, let’s prepare our oils. In your large stainless steel pot, combine 16 oz (454 G) of coconut oil, 12 oz (340 G) of olive oil, E 8 oz (227 G) of castor oil. Heat this mixture gently until it reaches the same temperature as your lye solution, about 100-110°F (38-43°C).
Now comes the exciting part – we’re going to create our soap paste. Slowly pour the lye solution into the oils while continuously blending with your stick blender. Questo processo, known as saponification, is where the real magic happens.
You’ll notice the mixture start to thicken and become opaque. In soap making terminology, we call this reaching “trace”. For liquid soap, we’re aiming for a thick trace, almost like pudding consistency. This process can take anywhere from 15 A 30 minutes of continuous blending.
One thing I’ve learned over the years: patience is crucial at this stage. Rushing the process can lead to separation issues later on. So take your time and enjoy watching the transformation.
Step 3: Cooking the Soap Paste to the Perfect Consistency
Once we’ve reached a thick trace, it’s time to cook our soap paste. This step ensures complete saponification and is crucial in how to make liquid soap correctly. I’ve found that getting this part right sets the foundation for a smooth, high-quality final product.
Transfer your soap mixture to a slow cooker or crock pot set to low heat. If you don’t have one, you can continue using your stainless steel pot on very low heat, but you’ll need to stir more frequently to prevent scorching. The cooking process typically takes 3 A 6 ore, and during this time, your soap will go through several distinct stages. Knowing these stages helps you track progress and determine when it’s fully cooked.
Primo, you’ll see the apple sauce stage, where the mixture looks grainy and textured, similar to, well, apple sauce. Prossimo, it transitions to the custard stage, becoming smoother and creamier as the oils and lye continue to react. Poi, it often reaches the taffy stage, where it thickens and takes on a sticky, pullable consistency. Finalmente, you’ll notice the vaseline stage, where the paste becomes glossy and semi-translucent, resembling petroleum jelly. These changes are normal, so don’t be alarmed as your soap transforms.
To check if your soap is done, perform a clarity test. Take a small sample of your soap paste and mix it with boiling distilled water. If it dissolves clear, your soap is ready. If it’s cloudy, it needs more cooking time. Another test I often use is the phenolphthalein test. Add a drop of phenolphthalein solution to a small sample of diluted soap. If it turns pink, it indicates excess alkali, meaning your soap needs more cooking time.
Every batch is unique, and cooking time can vary based on your recipe and conditions. I’ve had batches finish in 3 hours and others take closer to 6. Trust your tests rather than strictly adhering to a timeframe. With practice, you’ll get a feel for when your soap paste has reached the perfect consistency.
Step 4: Diluting the Soap Paste for a Smooth Liquid Texture
Congratulations! You’ve successfully made soap paste. Ora, let’s transform it into the smooth liquid soap we’re after.
Dilution is a critical step in how to make liquid soap. It’s where we turn our thick paste into a pourable liquid. For this recipe, we’ll use 80 oz (2268 G) of distilled water for dilution.
Cut your soap paste into small chunks to help it dissolve more easily. Add these to a large pot with your distilled water. Heat gently, stirring occasionally. This process can take several hours, so patience is key.
A trick I’ve developed over the years is to let the mixture sit overnight after heating. This gives any undissolved bits of soap more time to fully incorporate.
If your soap is too thick after dilution, you can add more water in small increments. If it’s too thin, you can cook it down a bit more. Ricordare, it’s easier to add more water than to remove it, so start with less than you think you’ll need.
The goal is a smooth, clear liquid soap. Don’t worry if it’s not perfectly clear right away – it often becomes clearer as it sits.
Step 5: Neutralizing and Refining Your Liquid Soap for Use
Now that we have our diluted soap, it’s time for some final adjustments to ensure it’s perfect for use.
Primo, let’s address the pH. Handmade liquid soap tends to be slightly alkaline, typically with a pH between 9-10. While this is generally safe for skin, some prefer a lower pH. We can neutralize this by adding a small amount of citric acid or borax solution. Start with 0.1% of your total soap weight and adjust as needed, testing with pH strips until you reach your desired pH.
Prossimo, we want to ensure our soap is crystal clear. If there’s any cloudiness, you can add a bit of high-proof alcohol (Piace 190 proof Everclear) at about 1% of your soap weight. This helps to clarify the soap and dissolve any remaining fatty acids.
In questa fase, you might also want to add a preservative. While not strictly necessary due to the high pH of soap, it can extend the shelf life, especially if you plan to sell your soap or if it will be used in humid environments. I typically use Liquid Germall Plus at 0.5% of the total soap weight.
Step 6: Adding Fragrance, Color, and Final Touches to Your Liquid Soap
We’re in the final stretch now! It’s time to add those finishing touches that will make your liquid soap truly special.
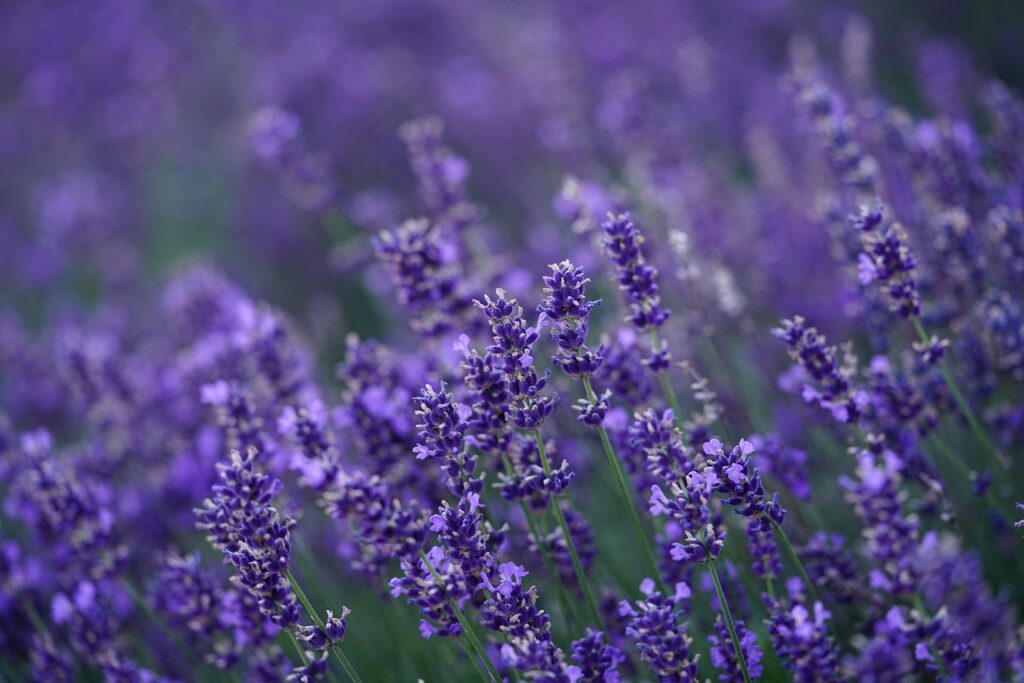
For fragrance, I prefer using essential oils for their natural scents and potential therapeutic benefits. Add them at about 2% of your total soap weight, O 2 oz (57 G) for this recipe. Remember to use essential oils that are safe for skin use and avoid those that are known sensitizers.
If you want to add color, natural options like herb-infused oils or clays can work well. For brighter colors, soap-safe dyes are available. Add these gradually until you achieve your desired shade, typically starting at 0.1% of your soap weight.
You might also want to add some nourishing ingredients at this stage. Things like glycerin or aloe vera can boost the moisturizing properties of your soap. Add these at about 2-3% of your total soap weight.
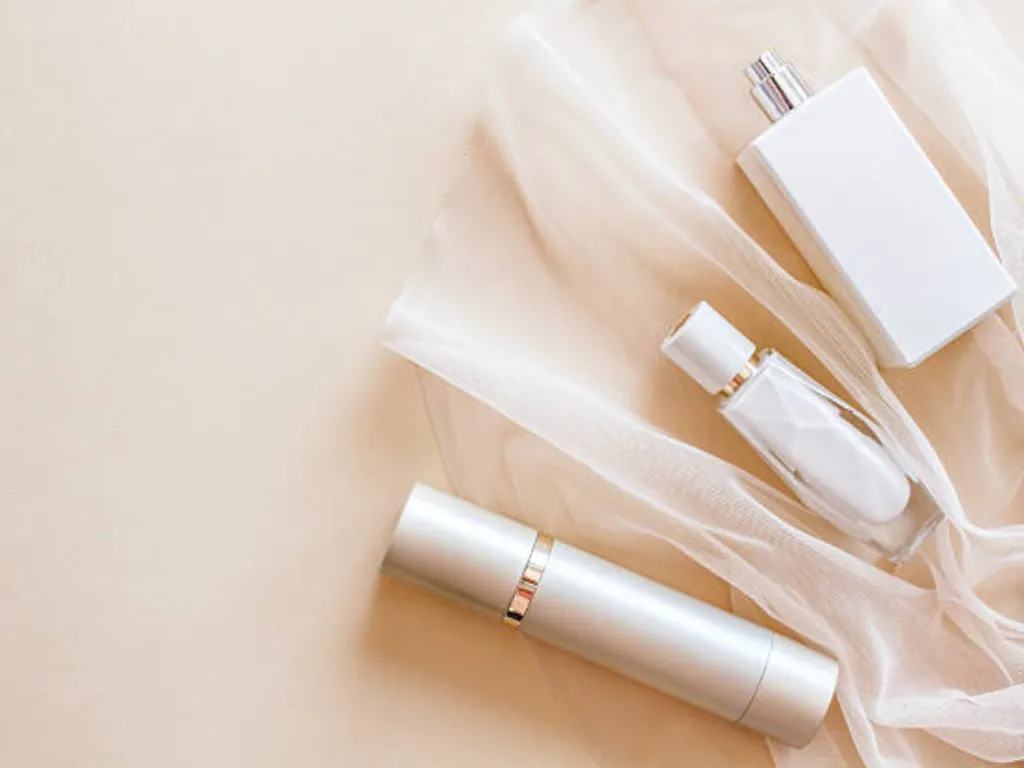
Finalmente, it’s time to bottle your creation. Make sure your bottles are clean and sterilized. I like to let my soap sit for a week before using it, just to make sure everything is well incorporated and any cloudiness has had time to clear.
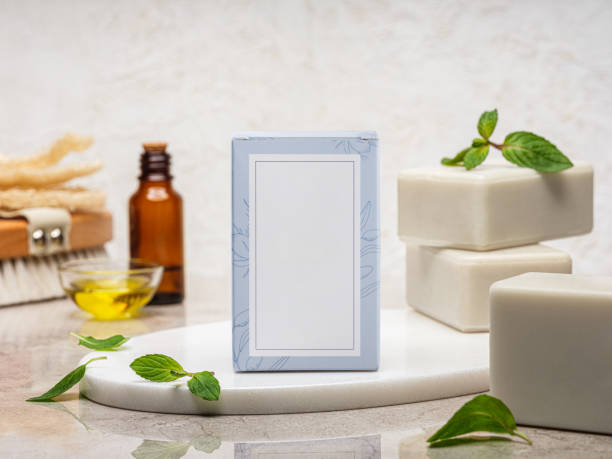
Discover Oully’s Premium Private Label Soap Solutions for Your Brand
While making your own liquid soap can be a rewarding experience, it’s not always practical for everyone, especially if you’re looking to create soap products on a larger scale. A Oully, we excel with robust production capabilities, exporting to over 20 countries and producing 100,000+ Unità ogni giorno. Nostro soaps rival top industry standards, offering superior cleansing, idratante, and lather quality, meeting ISO 22716 standards and holding GMP and FDA certifications. We provide extensive customization, including custom labels, printing, and boxes, all backed by one-stop service from formulation to delivery. Partner with Oully to elevate your brand – contact us today to get started!