Breast milk soap has become increasingly popular among new mothers as a natural and gentle alternative to commercial soaps. This guide will walk you through the process of making breast milk soap at home, covering its benefits, necessary ingredients, step-by-step instructions, and practical uses. Whether you’re looking to utilize excess breast milk or create a unique, personalized product, this comprehensive guide will help you learn how to make breast milk soap safely and effectively.
Why Make Breast Milk Soap? Benefits for Babies and Moms
Making breast milk soap offers several advantages for both mothers and infants. Breast milk contains natural antibodies, vitamins, and fatty acids that can be beneficial for skin health. While the soap-making process alters some of these properties, the resulting product is still gentler than many commercial alternatives.
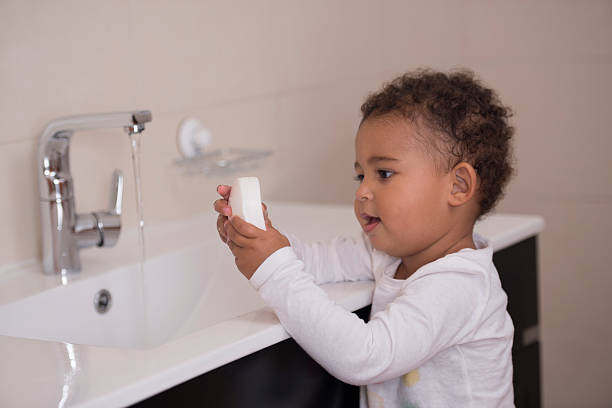
For babies, especially those with sensitive skin or conditions like eczema, breast milk soap can provide a soothing cleansing option. The natural fats in breast milk help to moisturize and protect delicate skin. Mothers may find that breast milk soap helps alleviate dry skin, particularly on hands frequently washed during childcare routines.
Additionally, creating breast milk soap allows mothers to utilize excess milk that might otherwise go to waste. This can be particularly meaningful for those who have oversupply issues or are weaning.
Breast milk soap has shown potential benefits for various skin conditions:
- Eczema: The moisturizing properties can help soothe dry, itchy patches associated with eczema.
- Acne: Some users report improvements in mild acne due to the natural antibacterial properties of breast milk.
- Diaper rash: The gentle, moisturizing nature of breast milk soap can help prevent and alleviate diaper rash.
- Cradle cap: Regular use may help reduce the flaking and scaling associated with cradle cap.
- Dry skin: The natural fats in breast milk soap can help hydrate and nourish dry skin.
- Minor cuts and scrapes: The antibacterial properties may aid in keeping small wounds clean.
- Sunburn: Some mothers report that breast milk soap provides a soothing effect on mild sunburns.
While these benefits are largely anecdotal and individual experiences may vary, many mothers find that breast milk soap offers a natural, gentle alternative for skincare. As always, it’s important to consult with a pediatrician or dermatologist before using any new product on sensitive skin or for specific skin conditions.
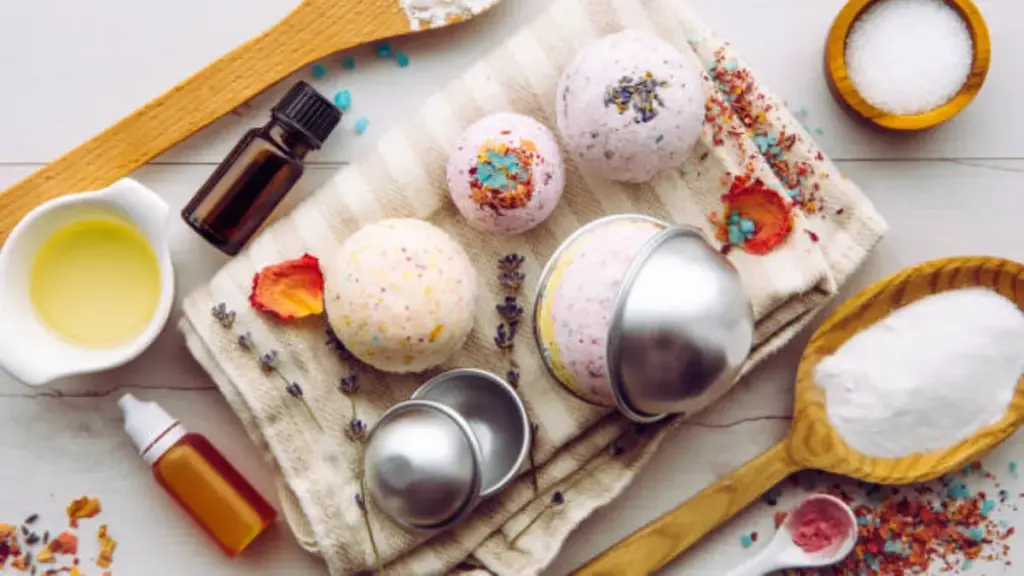
Essential Ingredients and Tools for Breast Milk Soap
To make breast milk soap, you’ll need the following ingredients:
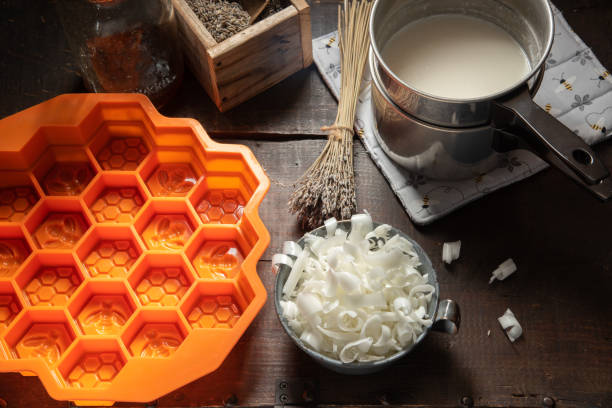
- Soap base (choose clear or white, depending on your desired final look)
- Breast milk (fresh or thawed)
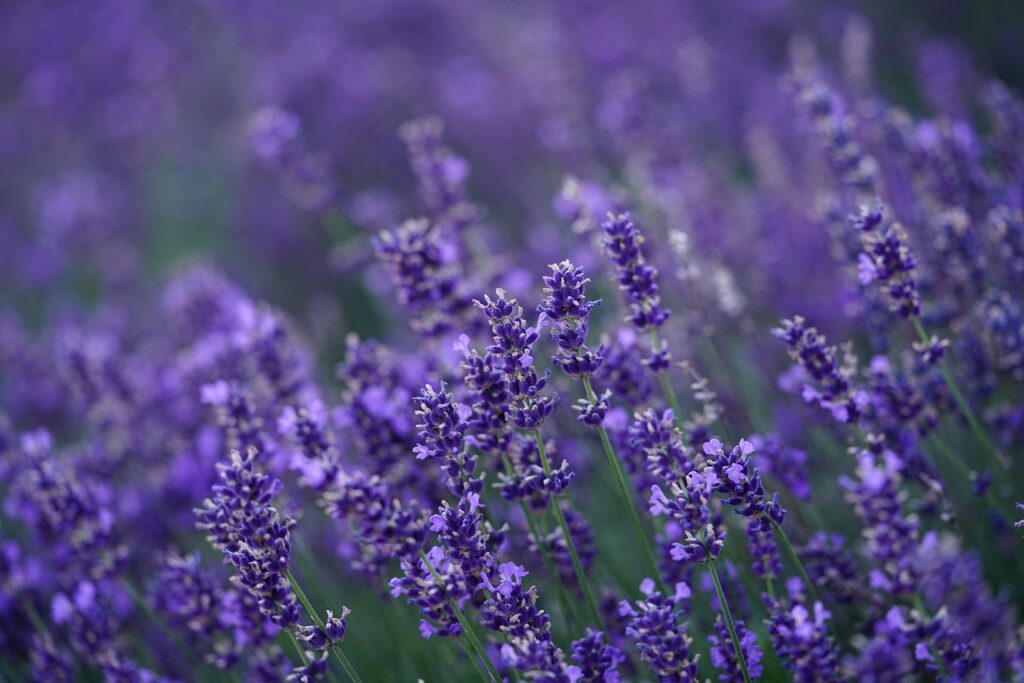
- Essential oils (optional, for fragrance)
- Natural colorants (optional, if you want to add color to your soap)
Essential tools include:
- Microwave-safe glass bowl or a dedicated soap melting pot
- Silicone soap molds
- Stirring utensil
- Spray bottle with rubbing alcohol (to eliminate bubbles)
- Thermometer
- Knife or soap cutter
- Measuring cups and spoons
Step-by-Step: How to Make Breast Milk Soap at Home
Serving Size: This recipe yields approximately 1 pound (454 grams) of soap, or about 4-6 bars depending on your mold size.
Preparation:
- If using frozen breast milk, thaw it in the refrigerator.
- Cut 1 pound (454 g) of soap base into small cubes for even melting.
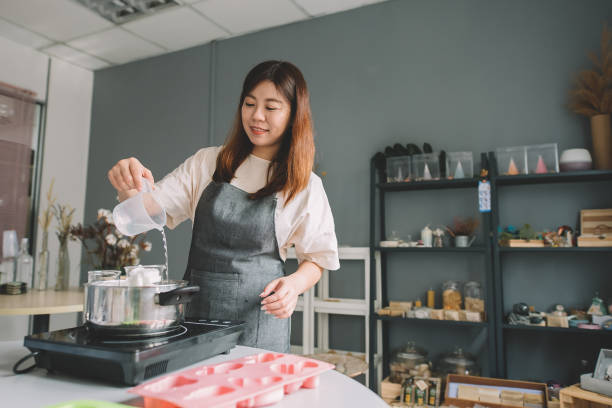
Melting the Soap Base:
- Place the soap base cubes in a microwave-safe bowl or melting pot.
- Heat in 30-second intervals, stirring between each, until fully melted.
Adding Breast Milk:
- Allow the melted soap base to cool to about 120°F (49°C).
- Slowly stir in 3-4 tablespoons (45-60 ml) of breast milk.
Customizing (Optional):
- Add a few drops of essential oil for fragrance if desired.
- Mix in natural colorants if you want to add color.
Molding:
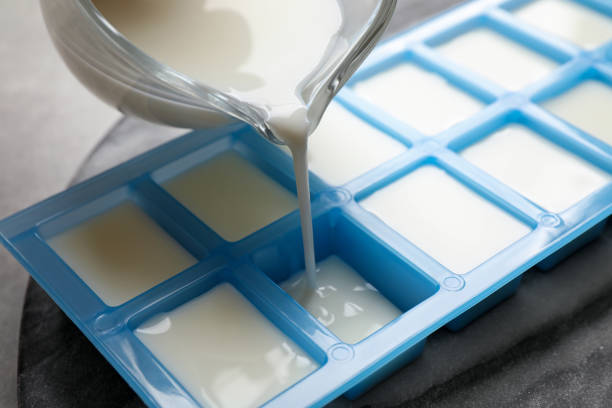
- Carefully pour the mixture into silicone molds.
- Spray the surface with rubbing alcohol to remove any bubbles.
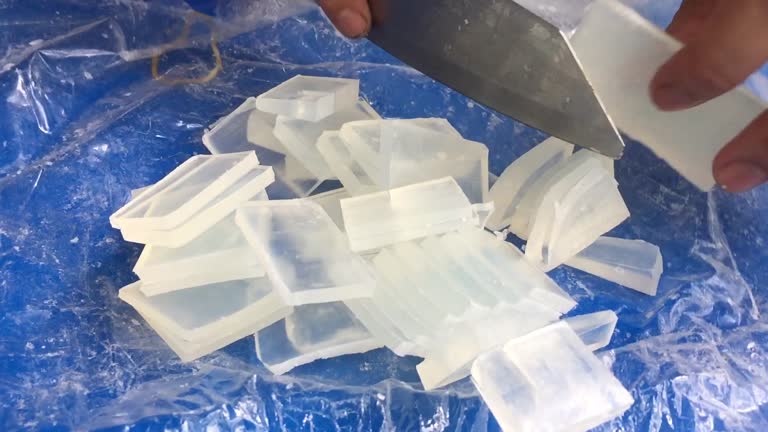
Setting and Curing:
- Allow the soap to set at room temperature for 3-4 hours or until firm.
- Once hardened, remove from molds.
- Let the soap cure in a well-ventilated area for 1-2 weeks to allow excess moisture to evaporate.
Remember, while this method is much safer than working with lye, always ensure your workspace is clean and keep materials out of reach of children. If you’re new to soap making, start with a small batch to get comfortable with the process.
Storage and Safety Tips for Breast Milk Soap
The correct storage and handling methods for homemade breast milk soap are essential to preserve its quality while ensuring safety for users. Here are some essential tips:
Curing:
- Your homemade soap requires a ventilated space to cure for 1-2 weeks before you can use it.
- Set your homemade breast milk soap on a drying rack or place it on a clean brown paper bag surface.
- Regularly turn the bars during drying to achieve uniform drying conditions.
Storage Environment:
- Store your homemade breast milk soap in a dry environment that stays cool while shielding it from direct sunlight.
- The bathroom environment should be avoided for storage because high humidity leads to soap melting and mold formation.
- Ideal storage temperature is between 59-77°F (15-25°C).
Packaging:
- Each bar should receive protection from dust and moisture by using wax paper or parchment paper.
- Airtight containers and resealable plastic bags provide the best storage solution for longer periods.
- Add production dates to each bar for simple identification purposes.
Shelf Life:
- Breast milk soap properly stored will maintain its quality for 6-12 months.
- Check for rancidity by looking for orange spots or an off-smelling odor because these signs indicate the soap needs to be thrown away.
Usage Tips:
- A soap dish equipped with drainage should be used to dry the bar between applications.
- Cutting large soap bars into smaller pieces helps them last longer while minimizing waste.
Safety Precautions:
- Soap made with a base presents no major safety risks but you should conduct a skin test before full use particularly when using it on baby’s skin.
- Children should not have access to soap to avoid swallowing it.
- Stop using the soap right away if you experience any skin irritation.
Travel Considerations:
- Travelers should use ventilated containers to store their soap because this protects it from melting and moisture buildup.
- A travel soap case with drainage features would be a suitable option for storage.
The storage and safety guidelines will help you maintain your homemade breast milk soap in fresh condition while ensuring its effectiveness and safety for use. The shelf life of breast milk soap becomes shorter than commercial soaps because of its natural ingredients so proper storage becomes essential to maintain its beneficial properties.
Creative Uses and Gift Ideas for Breast Milk Soap
Breast milk soap has various applications beyond baby care. Many mothers use it for their own skincare routines, finding it particularly effective for hand-washing and facial cleansing. Some report improvements in skin conditions like mild acne or dryness.
As gifts, breast milk soap can be a unique and thoughtful option for new mothers or at baby showers. Consider adding natural colorants or essential oils (after reaching trace) for aesthetic appeal and aromatherapy benefits.
In conclusion, learning how to make breast milk soap can be a rewarding process for mothers looking to create a natural, personalized skincare product. With the right ingredients, tools, and techniques, you can transform breast milk into a gentle, nourishing soap for both you and your baby. If you’re interested in creating custom soaps on a larger scale or exploring professional soap manufacturing, consider partnering with Oully, a trusted private label soap manufacturer known for their expertise in crafting high-quality, personalized soap products.